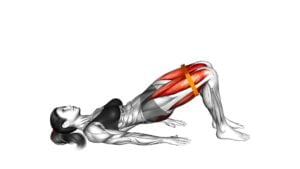
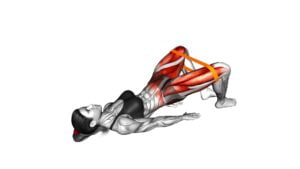
Resistance Band One Leg Glute Bridge (female) – Video Exercise Guide & Tips
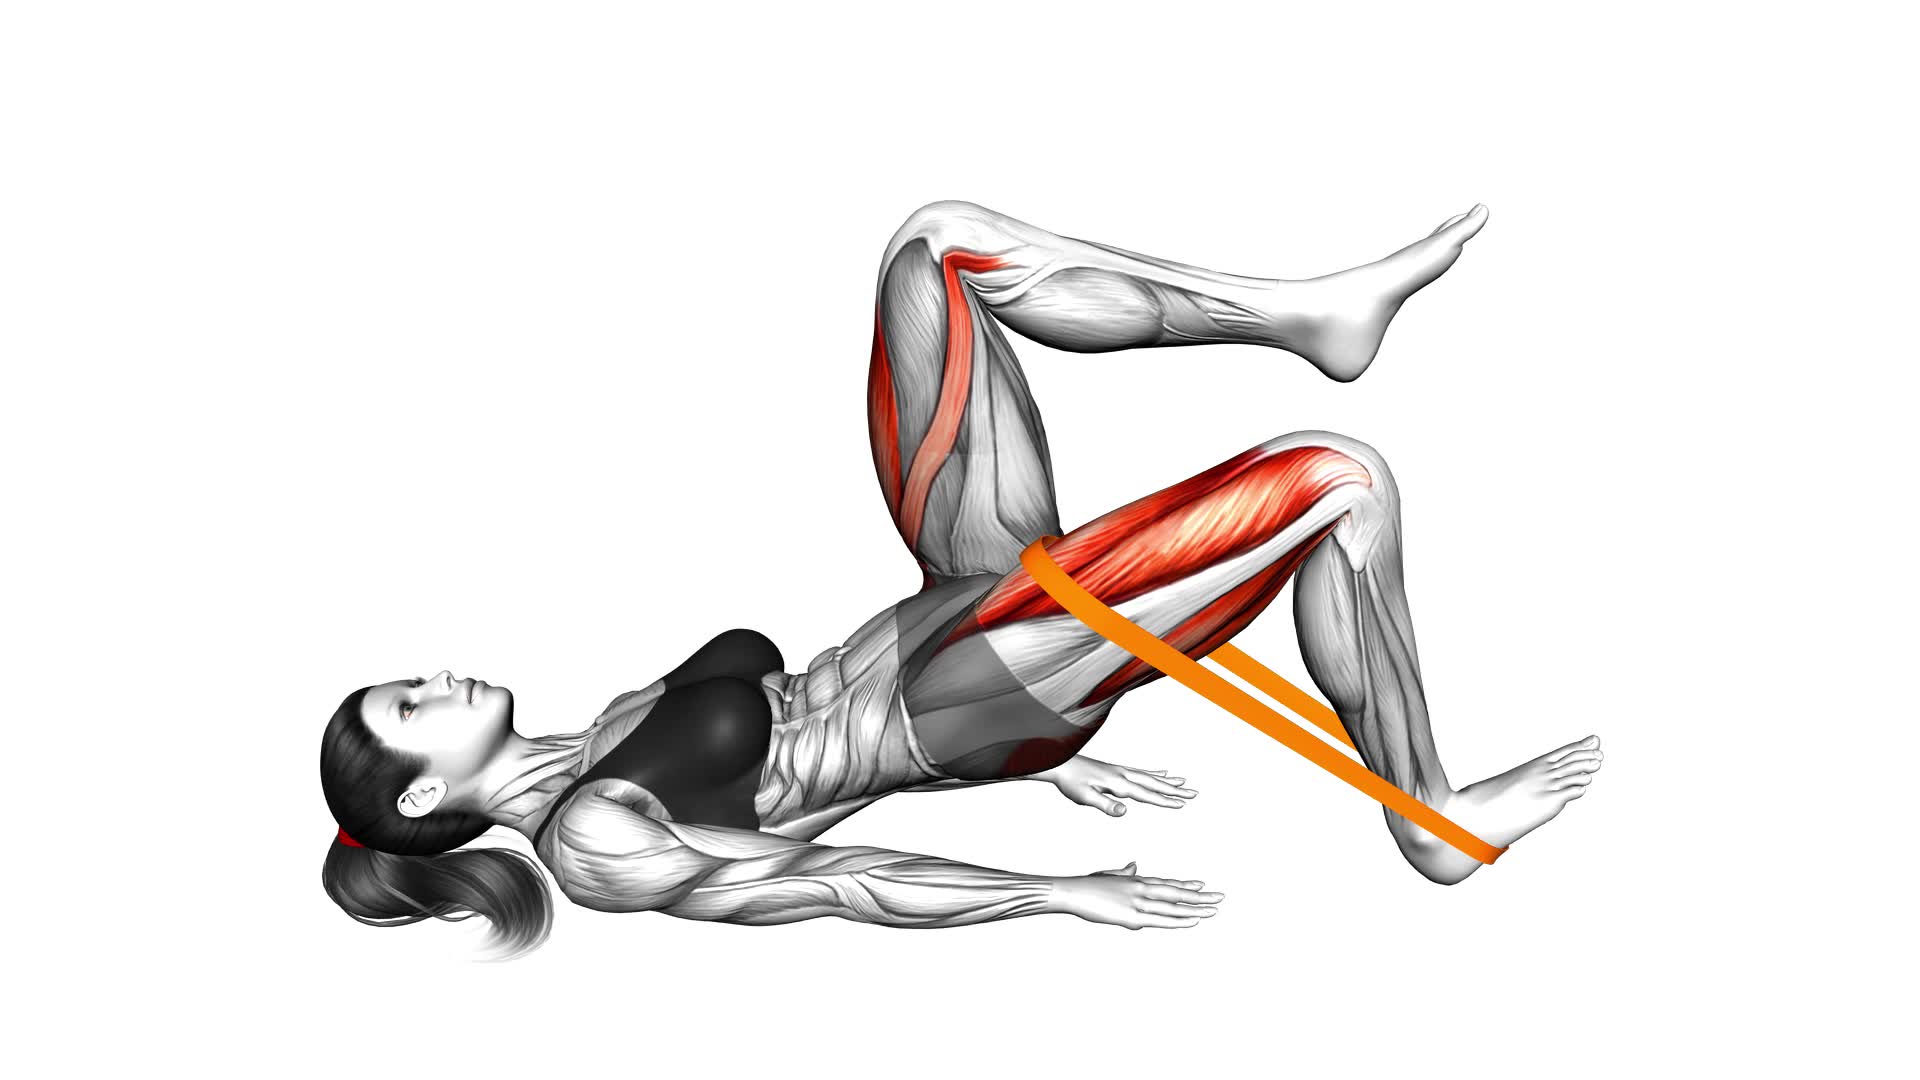
Get ready to target and strengthen your glutes with the Resistance Band One Leg Glute Bridge. This video exercise guide and tips will show you the proper set-up and technique for this effective exercise. Avoid common mistakes and maximize your results by following these step-by-step instructions.
Watch This Exercise Video
Let's get started!
Key Takeaways
- The Resistance Band One Leg Glute Bridge targets and strengthens glute muscles.
- It improves lower body strength and tones and shapes the buttocks.
- The exercise also works the hamstrings, quadriceps, and core muscles.
- It is important to maintain proper form, engage the core, and activate the glutes while performing the exercise.
Benefits of the Resistance Band One Leg Glute Bridge
One of the key benefits of performing the Resistance Band One Leg Glute Bridge is that it effectively targets and strengthens your glute muscles. This exercise specifically focuses on glute activation and helps to improve your lower body strength. By using a resistance band, you add an extra challenge to the exercise, making it more effective in activating and strengthening your glutes.
The Resistance Band One Leg Glute Bridge is a great exercise for individuals looking to tone and strengthen their glutes. It targets the gluteus maximus, gluteus medius, and gluteus minimus muscles, helping to lift and shape your buttocks. Additionally, this exercise works the hamstrings, quadriceps, and core muscles, providing a comprehensive lower body workout.
Regularly performing the Resistance Band One Leg Glute Bridge can lead to improved athletic performance and reduced risk of injury. Strong glute muscles are essential for movements such as running, jumping, and squatting, as they provide stability and power. Furthermore, the exercise helps to correct muscle imbalances and enhance overall lower body strength.
Now that you understand the benefits of the Resistance Band One Leg Glute Bridge, it's time to learn about the proper set-up and equipment for the exercise.
Proper Set-Up and Equipment for the Exercise
To properly set up for the Resistance Band One Leg Glute Bridge exercise, you'll need a resistance band and a stable surface to lie on. Here's what you need to know:
- Resistance band size: The size of the resistance band you choose depends on your fitness level and the intensity you desire. There are different levels of resistance bands available, ranging from light to heavy. It's recommended to start with a lighter resistance band and gradually increase the difficulty as you get stronger.
- Variations of the exercise: The Resistance Band One Leg Glute Bridge exercise can be modified to target different muscle groups and add variety to your workout routine. Some variations include using different resistance band placements, such as around your thighs or ankles, or incorporating pulses or holds at the top of the movement.
- Proper form: When performing the exercise, make sure to keep your core engaged, spine neutral, and glutes activated. Push through your heel to lift your hips off the ground, focusing on squeezing your glutes at the top of the movement. Avoid overarching your lower back or letting your knees cave inward.
Remember to always consult with a fitness professional before starting any new exercise program to ensure proper form and technique.
Step-by-Step Guide to Performing the Resistance Band One Leg Glute Bridge
To perform the Resistance Band One Leg Glute Bridge, you'll need to lie on a stable surface and place a resistance band around your thighs or ankles. Here is a step-by-step guide to help you perform this exercise correctly.
- Lie on your back with your knees bent and feet flat on the floor, hip-width apart. Place the resistance band around your thighs, just above your knees.
- Extend one leg straight out in front of you, keeping your foot flexed.
- Engage your core and squeeze your glutes as you lift your hips off the ground, pressing through your heels. Your body should form a straight line from your shoulders to your knees.
- Hold the bridge position for a moment, focusing on squeezing your glutes.
- Slowly lower your hips back down to the starting position, maintaining control throughout the movement.
Common errors to avoid include arching your lower back, not fully extending your hips, and allowing your knees to cave inward. Remember to keep your core engaged and your glutes activated throughout the exercise.
To progress this exercise, you can use a heavier resistance band or place the band around your ankles instead of your thighs. You can also try adding a pulse at the top of the movement or lifting your toes off the ground for an extra challenge.
Give the Resistance Band One Leg Glute Bridge a try to target your glutes and strengthen your lower body.
Common Mistakes to Avoid During the Exercise
Avoid these common mistakes when performing the Resistance Band One Leg Glute Bridge exercise:
- Incorrect foot placement: Ensure that your foot is positioned correctly on the resistance band. Place the band around the middle of your foot and secure it in place before starting the exercise. This will provide the necessary tension and stability.
- Arching your back: Keep your back flat on the ground throughout the exercise. Avoid arching your back as it can put unnecessary strain on your lower back and reduce the effectiveness of the glute bridge. Engage your core muscles to maintain proper alignment.
- Lifting your hips too high: While it's important to lift your hips off the ground, avoid overextending and lifting them too high. This can lead to excessive stress on your lower back and may also cause your hamstrings to take over the movement. Aim for a controlled and smooth movement, without hyperextending your hips.
Tips for Maximizing the Effectiveness of the Resistance Band One Leg Glute Bridge
Ensure proper form and technique by focusing on key points to maximize the effectiveness of the Resistance Band One Leg Glute Bridge exercise.
To maintain proper form:
- Start by lying on your back with your knees bent and your feet flat on the ground.
- Place the resistance band around your thighs, just above your knees.
- Engage your core and lift your hips off the ground, using your glutes to drive the movement.
- Keep your knee in line with your ankle and avoid letting it collapse inward.
- As you bridge up, squeeze your glutes at the top of the movement for maximum activation.
To further enhance the effectiveness of this exercise:
- You can incorporate variations such as using a heavier resistance band.
- Increase the number of repetitions.
- Add a pause at the top of the movement to increase the time under tension.
Frequently Asked Questions
How Many Repetitions Should I Do for the Resistance Band One Leg Glute Bridge?
To determine the optimal resistance level for the resistance band one leg glute bridge, you should consider your fitness level and goals.
Start with a band that provides moderate resistance and allows you to perform 10-15 repetitions with proper form. As you progress, you can increase the resistance by using a thicker band or adding more bands.
Remember to listen to your body and adjust accordingly.
There are also variations and progressions of this exercise that can challenge your glutes even more.
Can I Use a Resistance Band of Any Color for This Exercise?
Yes, you can use a resistance band of any color for this exercise. The color of the band doesn't affect its effectiveness.
However, it's important to choose a resistance band that suits your fitness level. If you're a beginner, you may want to start with a lighter resistance band and gradually increase the intensity as you get stronger.
Don't forget to consult with a fitness professional for proper resistance band selection and modifications for beginners.
Is It Normal to Feel Discomfort in My Lower Back While Performing the Resistance Band One Leg Glute Bridge?
Feeling discomfort in your lower back during the resistance band one leg glute bridge isn't normal. It could be a sign of incorrect form or lack of core stability. Make sure your pelvis is tucked and your core is engaged throughout the exercise.
If the discomfort persists, it's recommended to stop and consult a fitness professional for alternative exercises that target the glutes without causing lower back discomfort.
Can I Do This Exercise if I Have Knee Pain?
If you're experiencing knee pain, it's important to find alternative exercises for strengthening your glutes without aggravating it.
The resistance band one leg glute bridge may not be suitable for you, but there are modifications you can make.
Consider exercises like clamshells or hip thrusts, which target the glutes without putting pressure on the knees.
Consult with a fitness professional or physical therapist for personalized recommendations based on your specific condition.
How Long Should I Hold the Bridge Position During Each Repetition?
During each repetition of the bridge exercise, hold the bridge position for about 2-3 seconds. This will help you target and engage your glute muscles effectively.
However, as you progress and become stronger, you can increase the hold time to challenge yourself further.
Additionally, there are variations of the bridge exercise that you can explore to add variety and intensity to your workout routine.
Conclusion
The Resistance Band One Leg Glute Bridge is a highly effective exercise for strengthening and toning the glute muscles. By using a resistance band, you can intensify the workout and target the muscles more effectively.
Proper set-up and technique are crucial to maximize the benefits and avoid common mistakes. Remember to engage the core and maintain proper form throughout the exercise.
With consistency and proper execution, this exercise can help you achieve stronger and more defined glutes.

Author
Years ago, the spark of my life’s passion ignited in my mind the moment I stepped into the local gym for the first time. The inaugural bead of perspiration, the initial endeavor, the very first surge of endorphins, and a sense of pride that washed over me post-workout marked the beginning of my deep-seated interest in strength sports, fitness, and sports nutrition. This very curiosity blossomed rapidly into a profound fascination, propelling me to earn a Master’s degree in Physical Education from the Academy of Physical Education in Krakow, followed by a Sports Manager diploma from the Jagiellonian University. My journey of growth led me to gain more specialized qualifications, such as being a certified personal trainer with a focus on sports dietetics, a lifeguard, and an instructor for wellness and corrective gymnastics. Theoretical knowledge paired seamlessly with practical experience, reinforcing my belief that the transformation of individuals under my guidance was also a reflection of my personal growth. This belief holds true even today. Each day, I strive to push the boundaries and explore new realms. These realms gently elevate me to greater heights. The unique combination of passion for my field and the continuous quest for growth fuels my drive to break new ground.

