Resistance Band Glute Bridge – Video Exercise Guide & Tips

Looking to strengthen your glutes? Get ready to feel the burn with the resistance band glute bridge.
Watch This Exercise Video
In this video exercise guide, we'll show you how to properly set up the band and take you through the step-by-step process of performing this effective exercise.
Avoid common mistakes and discover tips for increasing the intensity and variations of the resistance band glute bridge.
Get ready to sculpt and tone your glutes like never before. Let's get started!
Key Takeaways
- Resistance Band Glute Bridge strengthens glute muscles
- Proper set up includes choosing a sturdy anchor point and adjusting band tension
- Common mistakes to avoid include allowing knees to collapse inward and raising hips too high
- Tips for increasing intensity and variations include using thicker resistance bands and incorporating advanced variations
Benefits of Resistance Band Glute Bridge
Discover the benefits of incorporating resistance band glute bridges into your workout routine.
Glute activation is crucial in any workout, as it helps to strengthen the glute muscles, improve stability, and prevent injuries.
The resistance band glute bridge specifically targets the glute muscles, providing a more effective and targeted workout compared to other glute exercises. While exercises like squats and lunges also engage the glutes, the resistance band glute bridge isolates and activates the glute muscles to a greater extent.
The resistance band adds an extra challenge to the exercise by providing constant tension throughout the movement. This helps to further activate the glutes and increase muscle engagement.
Additionally, the resistance band glute bridge allows for a greater range of motion, which helps to fully work the glutes and maximize their strength and growth potential.
By incorporating resistance band glute bridges into your routine, you can improve your overall lower body strength and stability, enhance athletic performance, and achieve a more toned and sculpted physique.
Now that you understand the benefits of the resistance band glute bridge, let's move on to how to properly set up the resistance band for this exercise.
How to Properly Set Up the Resistance Band
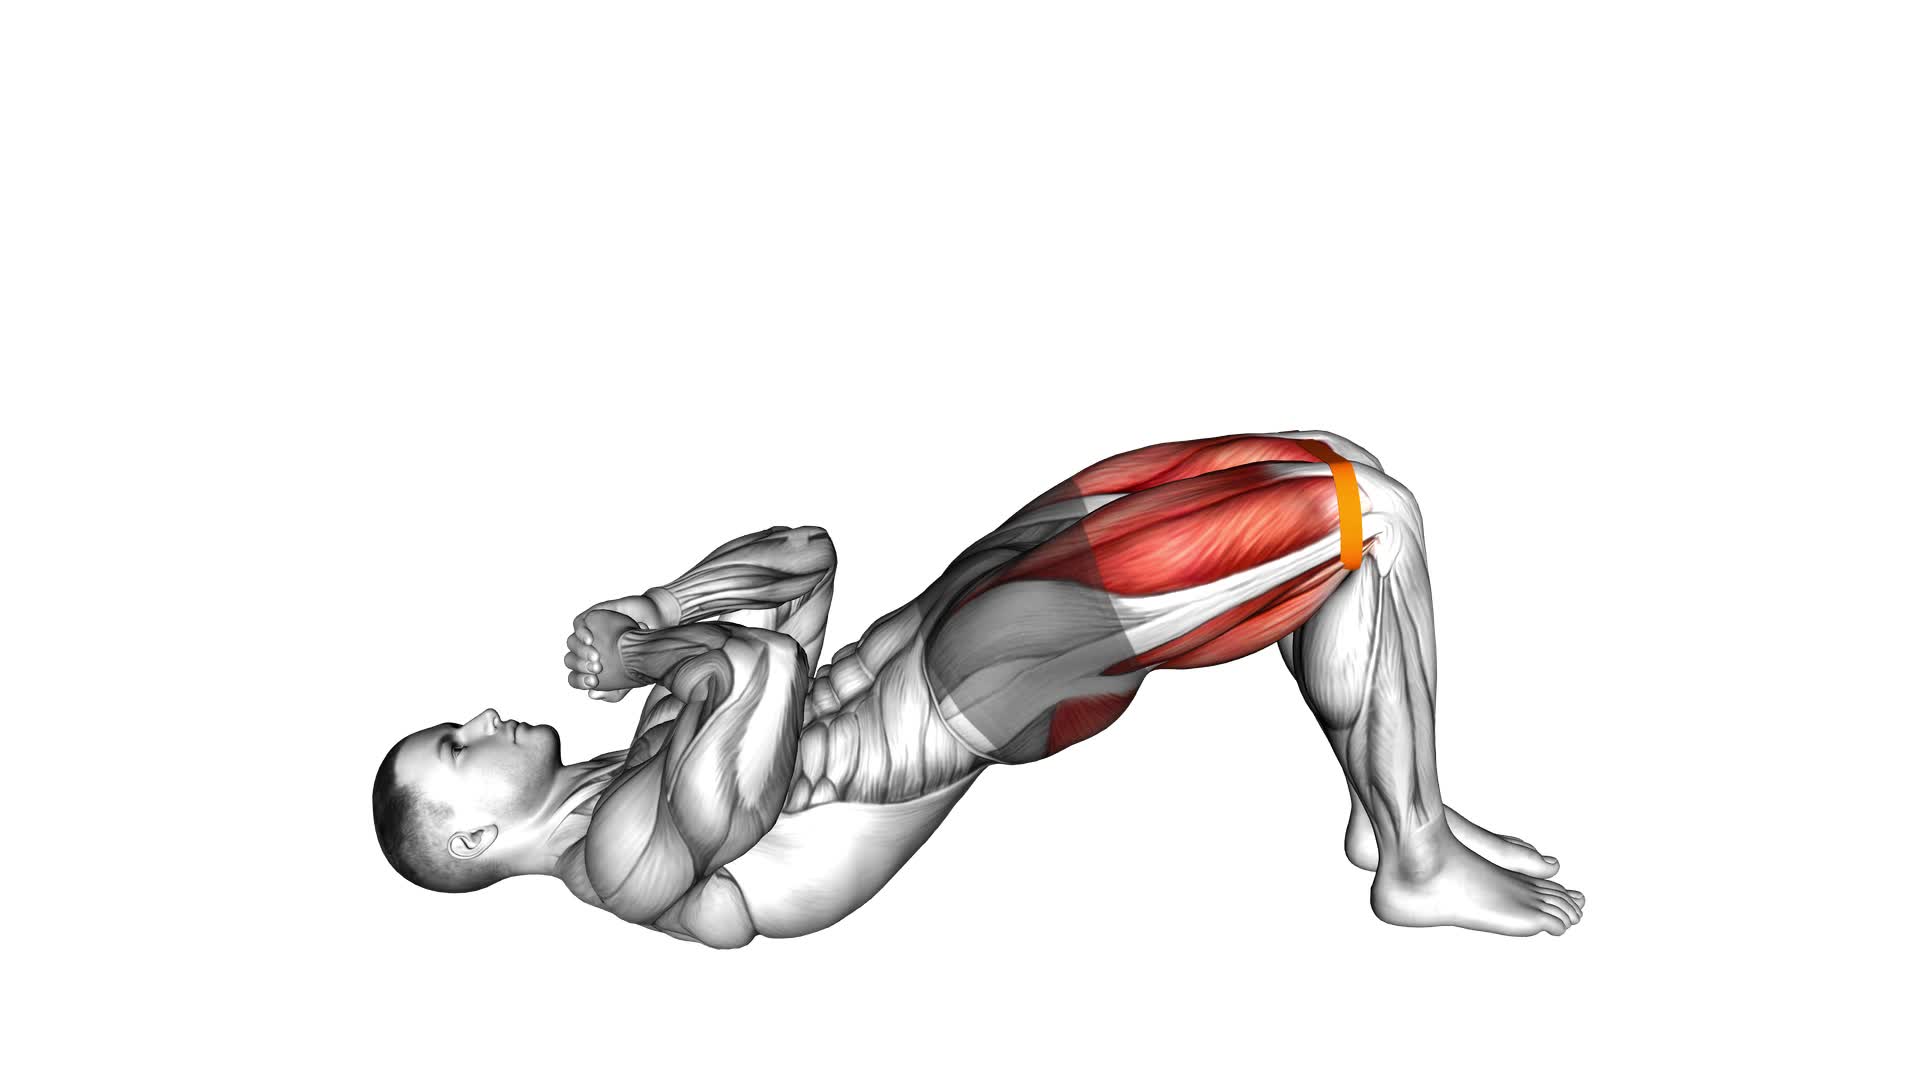
To properly set up the resistance band for the exercise, attach one end of the band to a sturdy anchor point and the other end around your thighs. This ensures that the resistance band is secure and in the correct position to effectively target your glutes during the glute bridge exercise.
Here are four important steps to follow when setting up the resistance band:
- Choose a sturdy anchor point: Find a secure anchor point, such as a heavy piece of furniture or a door frame, to attach one end of the resistance band. Make sure it can withstand the tension created by the band.
- Position the band around your thighs: Place the other end of the resistance band around your thighs, just above your knees. This will provide the necessary tension for the exercise.
- Adjust the band tension: Depending on your fitness level and desired intensity, you can adjust the tension of the resistance band. If the band feels too loose, move it closer to your glutes. If it feels too tight, move it further down your thighs.
- Test the resistance band: Before starting the exercise, test the band by performing a few glute bridges. Ensure that the band is secure and provides enough resistance to engage your glute muscles.
Step-by-Step Guide to Performing the Resistance Band Glute Bridge
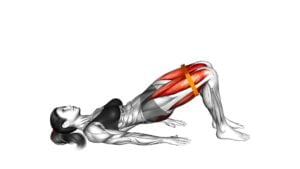
Start by lying on your back with your knees bent and the resistance band securely positioned around your thighs. Place your feet hip-width apart and flat on the ground. Engage your core and squeeze your glutes as you lift your hips off the ground, creating a straight line from your shoulders to your knees. Keep your knees in line with your toes and avoid letting them cave inward. Hold the bridge for a few seconds before lowering your hips back down to the starting position. Repeat for the desired number of repetitions.
To add variation to your glute bridge exercise, you can try different foot positions. For example, you can place your feet wider apart to target the outer glutes, or bring them closer together to engage the inner glutes. You can also experiment with using a resistance band above your knees instead of around your thighs for an extra challenge.
Glute exercises, such as the resistance band glute bridge, offer numerous benefits. They help strengthen and tone your glute muscles, which can improve your overall lower body strength and stability. Strong glutes also play a crucial role in proper posture and can help alleviate lower back pain. Additionally, incorporating glute exercises into your fitness routine can enhance athletic performance and help prevent injuries.
Common Mistakes to Avoid During the Exercise
Avoiding common mistakes is crucial for maximizing the effectiveness of the resistance band glute bridge exercise. To ensure you perform this exercise correctly and avoid injury, it's important to focus on maintaining proper form.
Here are four common mistakes to avoid during the resistance band glute bridge:
- Allowing your knees to collapse inward: To prevent injury and target the glute muscles effectively, make sure your knees are aligned with your hips and feet throughout the exercise. Keep your knees in line with your toes and avoid letting them cave inward.
- Raising your hips too high: While it may be tempting to lift your hips as high as possible, it can put unnecessary strain on your lower back. Instead, focus on lifting your hips to a point where your body forms a straight line from your knees to your shoulders.
- Not engaging your glutes: The glute bridge primarily targets the glute muscles, so it's crucial to focus on engaging them throughout the exercise. Squeeze your glutes at the top of the movement and maintain tension in these muscles throughout each repetition.
- Using excessive resistance band tension: Using a resistance band that's too tight can make it challenging to maintain proper form and increase the risk of injury. Choose a band with appropriate tension that allows you to perform the exercise with control and without compromising your form.
Tips for Increasing the Intensity and Variations of the Resistance Band Glute Bridge
To increase the intensity and variations of the resistance band glute bridge, incorporate different resistances and implement advanced variations.
One way to increase resistance is to use a thicker resistance band. This will provide more tension and challenge your glutes even further.
You can also try using multiple resistance bands at once to increase the resistance even more.
Another option is to try using a resistance band with handles, which allows for a greater range of motion and increased resistance.
In addition to increasing resistance, there are various advanced variations of the resistance band glute bridge that you can try.
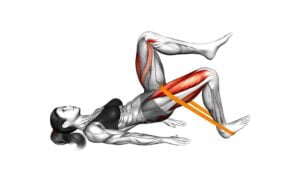
One variation is the single-leg glute bridge, where you perform the exercise with only one leg elevated off the ground. This places more emphasis on the working glute and increases the intensity.
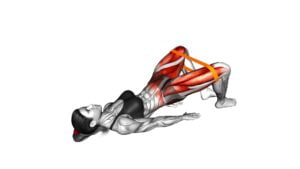
Another variation is the banded hip thrust, where you place the resistance band around your hips and perform the hip thrust motion. This targets the glutes in a slightly different way and adds a new challenge to your workout.
Frequently Asked Questions
How Many Sets and Repetitions Should I Do When Performing the Resistance Band Glute Bridge?
When performing the resistance band glute bridge, it's important to consider how many sets and repetitions to do. Different variations of glute bridge exercises may require different sets and reps to achieve the desired results.
However, it's generally recommended to start with 2-3 sets of 10-15 repetitions. This will help activate and strengthen your glute muscles effectively.
Incorporating resistance band exercises for your glutes can provide added resistance and help increase the intensity of your workout.
Can I Use a Different Type of Resistance Band for This Exercise?
Yes, you can use a different type of resistance band for the glute bridge exercise.
Different types of resistance bands offer varying levels of resistance, allowing you to adjust the intensity of your workout.
Using resistance bands in your exercise routine has several benefits, such as increasing muscle activation, improving stability, and targeting specific muscle groups.
Experiment with different types of resistance bands to find the one that works best for you and your fitness goals.
Is the Resistance Band Glute Bridge Suitable for Beginners?
The resistance band glute bridge is a suitable exercise for beginners. It's a great way to activate and strengthen your glute muscles. By incorporating resistance bands, you can add an extra level of challenge to the exercise.
If you're a beginner, you can modify the exercise by using a lighter resistance band or no band at all. This will allow you to focus on proper form and gradually build strength.
The benefits of using resistance bands for glute activation include increased muscle activation and improved stability.
Can I Incorporate the Resistance Band Glute Bridge Into My Regular Leg Workout Routine?
Yes, you can definitely incorporate the resistance band glute bridge into your regular leg workout routine. It's a great way to target and strengthen your glutes, while also engaging your core and lower body muscles.
By incorporating resistance bands into other exercises, you can increase the intensity and challenge of your workout.
The resistance band glute bridge specifically helps to activate and isolate your glute muscles, leading to improved stability, power, and overall lower body strength.
Are There Any Modifications for Individuals With Knee or Lower Back Pain?
If you're dealing with knee or lower back pain, there are modifications you can make to the resistance band glute bridge exercise. Instead of using a resistance band, you can try performing glute bridges without any added resistance. This can help reduce strain on your knees and lower back.
Additionally, there are alternative exercises you can do to activate your glutes, such as hip thrusts or clamshells.
Remember to listen to your body and modify any exercise to suit your needs.
Conclusion
In conclusion, the resistance band glute bridge is a highly effective exercise for targeting and strengthening the glute muscles.
By properly setting up the resistance band and following the step-by-step guide, you can perform this exercise with proper form and avoid common mistakes.
Additionally, by incorporating intensity variations and tips, you can further challenge your glutes and maximize your results.
Incorporating the resistance band glute bridge into your workout routine can help improve your overall lower body strength and stability.

Author
Years ago, the spark of my life’s passion ignited in my mind the moment I stepped into the local gym for the first time. The inaugural bead of perspiration, the initial endeavor, the very first surge of endorphins, and a sense of pride that washed over me post-workout marked the beginning of my deep-seated interest in strength sports, fitness, and sports nutrition. This very curiosity blossomed rapidly into a profound fascination, propelling me to earn a Master’s degree in Physical Education from the Academy of Physical Education in Krakow, followed by a Sports Manager diploma from the Jagiellonian University. My journey of growth led me to gain more specialized qualifications, such as being a certified personal trainer with a focus on sports dietetics, a lifeguard, and an instructor for wellness and corrective gymnastics. Theoretical knowledge paired seamlessly with practical experience, reinforcing my belief that the transformation of individuals under my guidance was also a reflection of my personal growth. This belief holds true even today. Each day, I strive to push the boundaries and explore new realms. These realms gently elevate me to greater heights. The unique combination of passion for my field and the continuous quest for growth fuels my drive to break new ground.


