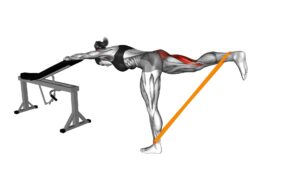
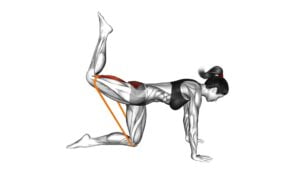
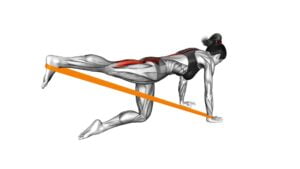
Resistance Band One Leg Kickback (Bent Position) (male) – Video Exercise Guide & Tips
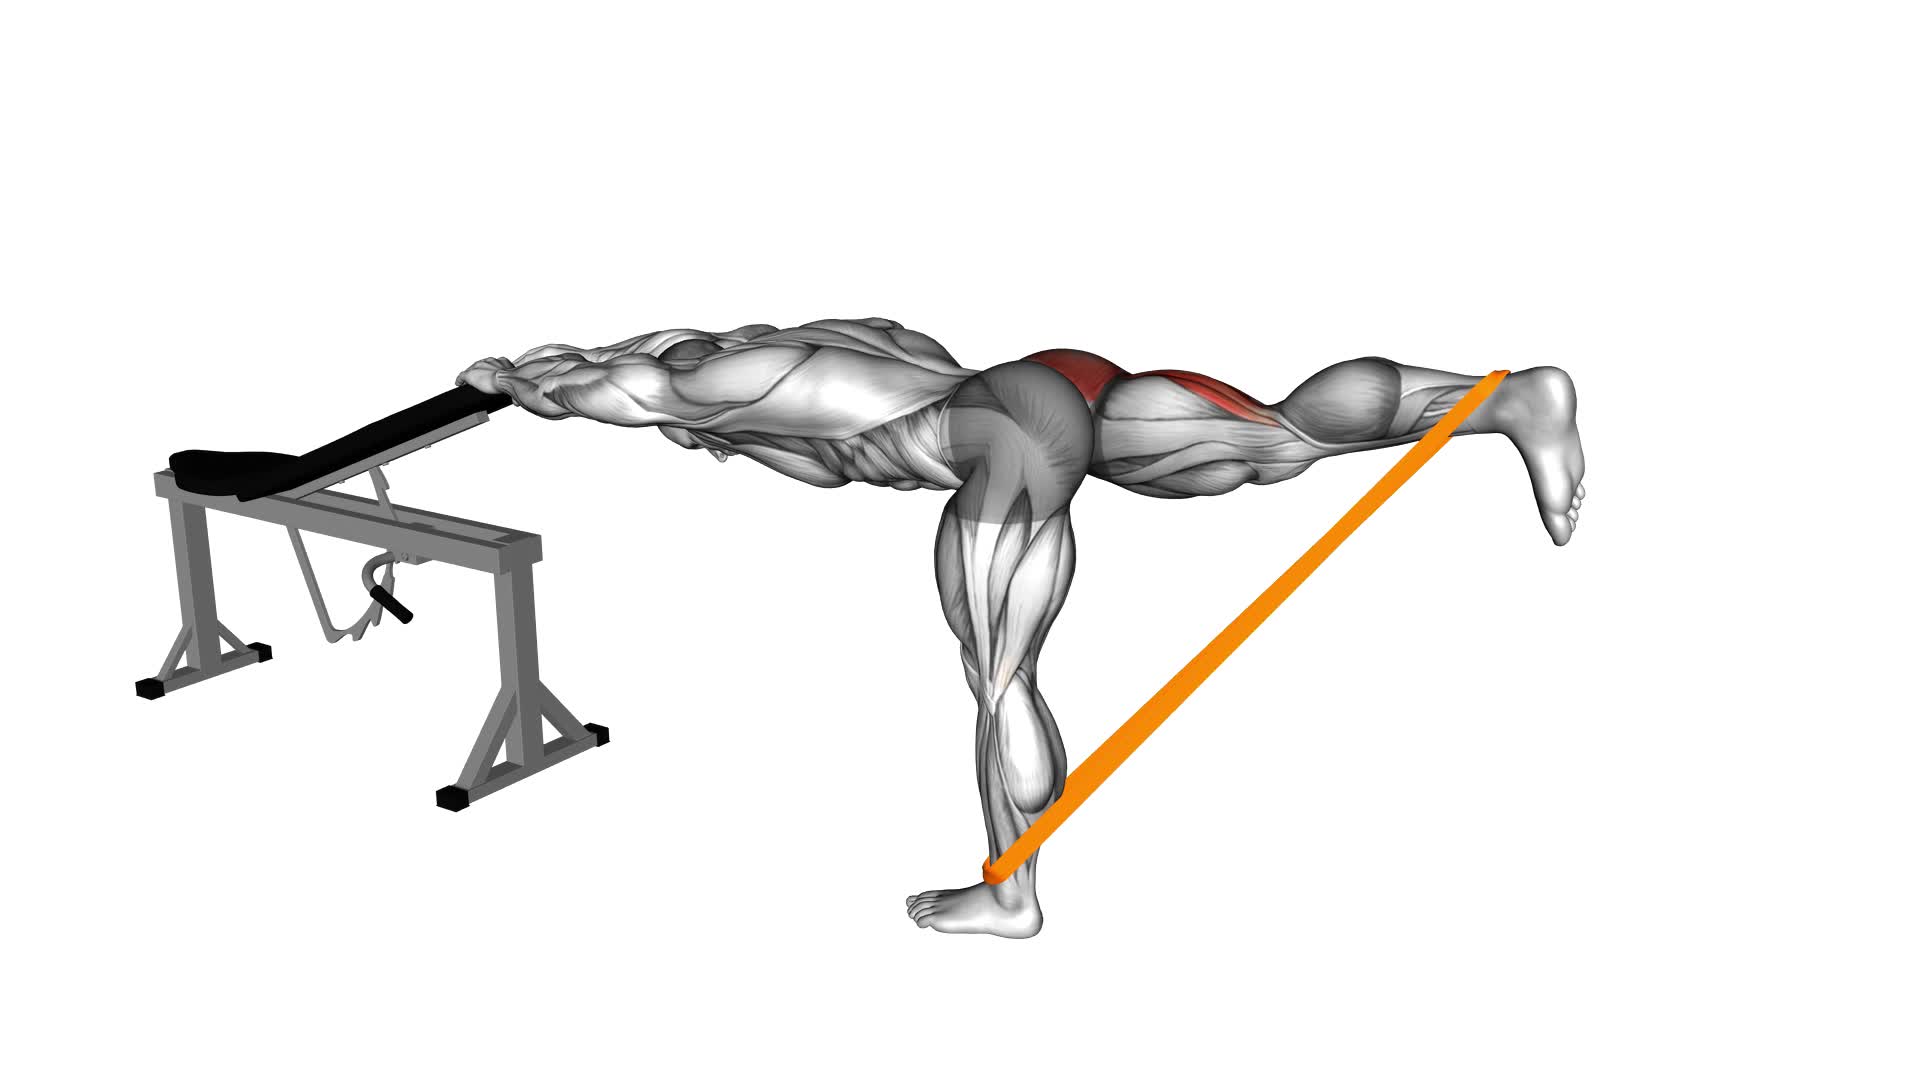
Are you looking for a quick and effective lower body exercise? Look no further than the resistance band one leg kickback!
Watch This Exercise Video
This video exercise guide and tips provide you with all the information you need to perform this exercise correctly. With proper set-up and equipment, step-by-step execution, and variations for progression, you'll be able to target your glutes and hamstrings like never before.
Maximize your results and avoid common mistakes with these helpful tips.
Let's get started!
Key Takeaways
- Resistance band one leg kickback increases glute activation and targets and strengthens the glute muscles.
- Proper set-up and equipment, including correct band placement and choosing the right resistance, are important for maximizing the benefits of this exercise.
- Proper anchoring techniques, such as choosing a sturdy surface and using ankle straps or handles, ensure safety and effectiveness.
- Executing the exercise with proper form, adding variations for increased challenge, and prioritizing rest and recovery are essential for maximizing results.
Benefits of Resistance Band One Leg Kickback
You can experience increased glute activation with resistance band one leg kickbacks. This exercise is a great way to target and strengthen your glute muscles. By incorporating resistance bands into your workout routine, you can maximize the benefits and see better results.
Resistance band one leg kickbacks specifically target your gluteus maximus, which is the largest muscle in your buttocks. This muscle plays a key role in hip extension and is important for activities such as running, jumping, and squatting. By strengthening your glutes, you can improve your athletic performance and reduce the risk of injuries.
The resistance band adds an extra challenge to the exercise, forcing your glute muscles to work harder. This increased resistance helps to activate more muscle fibers, leading to greater muscle growth and strength gains. Additionally, the resistance band provides constant tension throughout the entire range of motion, further maximizing the benefits of the exercise.
Incorporating resistance band one leg kickbacks into your workout routine can also help to improve your core stability and balance. As you kick your leg back, you engage your core muscles to maintain proper form and balance. This can translate to better performance in other exercises and daily activities that require stability and balance.
Proper Set-up and Equipment
To ensure proper set-up and equipment for the resistance band one leg kickback exercise, there are a few key points to keep in mind.
First, make sure the band is placed correctly around your ankle, securely attached to an anchor point.
Second, choose a resistance level that challenges you without compromising your form.
Lastly, use proper anchoring techniques to ensure stability and prevent the band from slipping during the exercise.
Correct Band Placement
The proper set-up and equipment for correct band placement in the resistance band one leg kickback (bent position) exercise are crucial for effective results.
To ensure proper band placement, start by securely attaching the resistance band to a sturdy anchor point at floor level. Position yourself facing the anchor point, with your feet shoulder-width apart and knees slightly bent.
Grab the handle of the resistance band with your hands and bring it to your chest. Make sure the band is taut but not overly stretched. Adjust the resistance level of the band according to your fitness level and desired intensity. Remember, the band should provide enough resistance to challenge your muscles without causing strain.
Proper band placement and resistance level will help you maximize the benefits of the exercise and avoid injury.
Choosing the Right Resistance
Proper resistance selection is vital for achieving optimal results and avoiding injury when setting up and using the resistance band for the one leg kickback exercise. To ensure you choose the right resistance band tension, consider the following:
- Start with a light resistance band if you're a beginner or have limited strength.
- Gradually increase the tension as you become more comfortable and proficient with the exercise.
- Choose a band that provides enough resistance to challenge your muscles without compromising form.
- If the band feels too easy, opt for a higher resistance band to intensify the workout.
Remember, it's essential to find the right balance between challenging yourself and maintaining proper form.
If you don't have access to resistance bands, there are alternative exercises that target the same muscle groups, such as donkey kicks or glute bridges. Experiment with different resistance levels to find what works best for you.
Proper Anchoring Techniques
When setting up and using the resistance band for the one leg kickback exercise, ensure you properly anchor the band and use the appropriate equipment.
Proper anchoring techniques are of utmost importance to ensure a safe and effective workout. To anchor the band, choose a sturdy and secure surface, such as a door frame or a heavy piece of furniture. Make sure the anchor point is at waist height and securely attach the band to it.
Additionally, use equipment like ankle straps or handles to properly grip the band and maintain a comfortable and secure position.
By following these anchoring techniques and using the right equipment, you can perform the one leg kickback exercise with proper form and maximize its benefits.
Now, let's move on to the step-by-step execution of the exercise.
Step-by-Step Execution
How can you perform the resistance band one leg kickback in a bent position? Here are the step-by-step instructions to help you execute this exercise correctly:
- Start by anchoring the resistance band to a sturdy object at ankle height.
- Stand facing the anchor point and loop the band around your ankle.
- Bend your supporting leg slightly and hinge forward at the hips, maintaining a flat back.
- Engage your core and glutes, then slowly kick your free leg straight back, squeezing your glutes at the top of the movement.
- Return to the starting position in a controlled manner, keeping tension on the band throughout the exercise.
Common mistakes to avoid when performing the resistance band one leg kickback in a bent position include:
- Using too much momentum: Ensure that you're using your glute muscles to control the movement, rather than swinging your leg.
- Allowing your back to round: Maintain a neutral spine throughout the exercise to avoid putting unnecessary strain on your lower back.
- Failing to engage your core: Keep your core muscles tight and activated to support your body during the movement.
- Not maintaining tension on the band: Keep the resistance band taut throughout the exercise to maximize the effectiveness of the movement.
Common Mistakes to Avoid
To ensure proper execution of the resistance band one leg kickback in a bent position, it's crucial to avoid these common mistakes.
First, make sure you maintain a stable core throughout the exercise. It's common to let your lower back arch or your hips rotate, but this can put unnecessary strain on your spine and reduce the effectiveness of the movement. Keep your abs engaged and your pelvis neutral to maintain proper form.
Another mistake to avoid is rushing through the exercise. Take your time and focus on the quality of each repetition. By rushing, you may sacrifice proper form and not fully engage the targeted muscles. Instead, perform the kickback slowly and with control, feeling the contraction in your glutes with each rep.
Lastly, avoid using too much tension in the resistance band. While it's important to challenge yourself, using excessive tension can cause you to rely on momentum rather than muscle activation. Start with a moderate resistance and gradually increase as you become stronger and more comfortable with the exercise.
By avoiding these common mistakes and focusing on technique improvement, you can maximize the benefits of the resistance band one leg kickback in a bent position.
Now, let's explore some variations and progressions to keep challenging yourself and continue progressing in your fitness journey.
Variations and Progressions
To continue challenging yourself and making progress in your fitness journey, you can explore different variations and progressions of the resistance band one leg kickback in a bent position.
Here are some variations and modifications you can try:
- Increase the resistance: Use a stronger resistance band or multiple bands to increase the difficulty of the exercise. This will work your glutes and hamstrings even more.
- Single-leg kickback: Instead of kicking both legs back simultaneously, perform the exercise with one leg at a time. This will engage your glutes and hamstrings more intensely and help improve balance and stability.
- Pulse at the top: When you kick your leg back, hold it for a moment and then pulse it up and down slightly before bringing it back to the starting position. This will add an extra challenge and increase the burn in your glutes.
- Elevated kickback: Place your foot on an elevated surface, such as a step or bench, before kicking it back. This variation increases the range of motion and targets your glutes from a different angle.
By incorporating these variations and modifications into your resistance band one leg kickback routine, you can keep your workouts fresh and continue to progress towards your fitness goals.
Remember to listen to your body and adjust the intensity as needed.
Tips for Maximizing Results
To maximize your results with resistance band one leg kickbacks, it's important to focus on proper form. Make sure you maintain a straight back and engage your glutes throughout the exercise.
Additionally, to continue seeing progress, implement progressive overload techniques by gradually increasing the resistance or repetitions.
Lastly, don't forget to prioritize rest and recovery to allow your muscles to repair and grow stronger.
Proper Form Importance
Achieve maximum results by paying attention to proper form during the Resistance Band One Leg Kickback exercise. Proper technique is crucial not only for maximizing your results but also for injury prevention. Here are some important tips to keep in mind:
- Maintain a neutral spine throughout the exercise to avoid straining your lower back.
- Engage your core muscles to stabilize your body and prevent any unnecessary movements.
- Keep your shoulders relaxed and away from your ears to avoid tension in your upper body.
- Focus on squeezing your glutes as you extend your leg backward, ensuring that the movement comes from your hip rather than your lower back.
Progressive Overload Techniques
By incorporating progressive overload techniques, you can further enhance your results and maximize the effectiveness of the Resistance Band One Leg Kickback exercise.
Progressive overload refers to gradually increasing the demands placed on your muscles over time. This stimulates muscle growth and prevents plateaus. To prevent overtraining, it's important to gradually increase the intensity, duration, or frequency of your workouts.
One technique for progressive overload is to increase the resistance of the resistance band used for the exercise. This can be done by using a band with higher resistance or by adding additional bands.
Another technique is to increase the number of repetitions or sets performed. Additionally, you can vary the tempo of the exercise or reduce rest periods between sets to add an extra challenge.
Rest and Recovery Strategies
To maximize your results and enhance the effectiveness of the Resistance Band One Leg Kickback exercise, it's important to incorporate rest and recovery strategies into your routine. Here are some tips to help you maximize your rest and recovery:
- Allow for proper rest between workouts to avoid overtraining and reduce the risk of injury.
- Incorporate active recovery exercises such as light stretching or low-intensity cardio to promote blood flow and aid in muscle recovery.
- Prioritize quality sleep to allow your body to repair and regenerate.
- Fuel your body with nutritious foods and stay hydrated to support the recovery process.
Frequently Asked Questions
How Many Sets and Reps Should I Do for the Resistance Band One Leg Kickback Exercise?
To get the most out of the resistance band one leg kickback exercise, it's important to focus on proper form. Make sure to keep your core engaged and your back straight throughout the movement.
As for sets and reps, start with 2-3 sets of 12-15 reps on each leg. If you're looking for more intensity, you can increase the resistance or try different variations like the straight leg kickback or the kneeling kickback.
Can I Use a Resistance Band of Any Strength for This Exercise?
Yes, you can use a resistance band of any strength for the one leg kickback exercise.
The resistance band alternatives provide a versatile and convenient way to add resistance to your leg exercises.
Using resistance bands not only helps to strengthen and tone your leg muscles, but also improves stability and balance.
Is It Normal to Feel a Burn in My Glutes While Performing the Resistance Band One Leg Kickback?
Feeling a burn in your glutes while performing the resistance band one leg kickback is completely normal. This burn sensation indicates that your muscles are being activated and working hard. It's a sign that you're targeting the right muscles and getting a good workout.
Keep pushing through and embrace the burn, as it shows that you're challenging your glutes and making progress in your fitness journey.
Can I Do This Exercise on Both Legs or Should I Focus on Just One Leg at a Time?
You can definitely do the resistance band one leg kickback exercise on both legs. It's a great way to target and strengthen your glutes.
As for adding weights, it's possible to increase the challenge by using ankle weights or holding dumbbells while performing the exercise.
When it comes to timing, it's generally recommended to do this exercise after your main workout to finish off your glute muscles.
How Often Should I Incorporate the Resistance Band One Leg Kickback Into My Workout Routine for Optimal Results?
To achieve optimal results, it's important to incorporate the resistance band one leg kickback into your workout routine consistently. Aim to perform this exercise at least 2-3 times a week.
By doing so, you'll effectively target and strengthen your glute muscles. The benefits of resistance band exercises for glutes include improved muscle activation, increased strength, and enhanced stability.
Conclusion
In conclusion, the resistance band one leg kickback exercise is a great way to strengthen your glutes and improve overall lower body strength.
By following the proper set-up and execution techniques, you can maximize the benefits of this exercise.
Remember to avoid common mistakes and explore variations to challenge yourself further.
With consistent practice and proper form, you can achieve great results with this exercise.
Keep pushing yourself and enjoy the rewards of a stronger lower body.

Author
Years ago, the spark of my life’s passion ignited in my mind the moment I stepped into the local gym for the first time. The inaugural bead of perspiration, the initial endeavor, the very first surge of endorphins, and a sense of pride that washed over me post-workout marked the beginning of my deep-seated interest in strength sports, fitness, and sports nutrition. This very curiosity blossomed rapidly into a profound fascination, propelling me to earn a Master’s degree in Physical Education from the Academy of Physical Education in Krakow, followed by a Sports Manager diploma from the Jagiellonian University. My journey of growth led me to gain more specialized qualifications, such as being a certified personal trainer with a focus on sports dietetics, a lifeguard, and an instructor for wellness and corrective gymnastics. Theoretical knowledge paired seamlessly with practical experience, reinforcing my belief that the transformation of individuals under my guidance was also a reflection of my personal growth. This belief holds true even today. Each day, I strive to push the boundaries and explore new realms. These realms gently elevate me to greater heights. The unique combination of passion for my field and the continuous quest for growth fuels my drive to break new ground.

