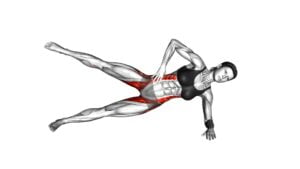
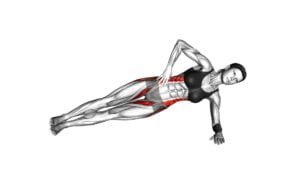
Side Plank With Raised Leg (Version 2) (Left) (Female) – Video Exercise Guide & Tips
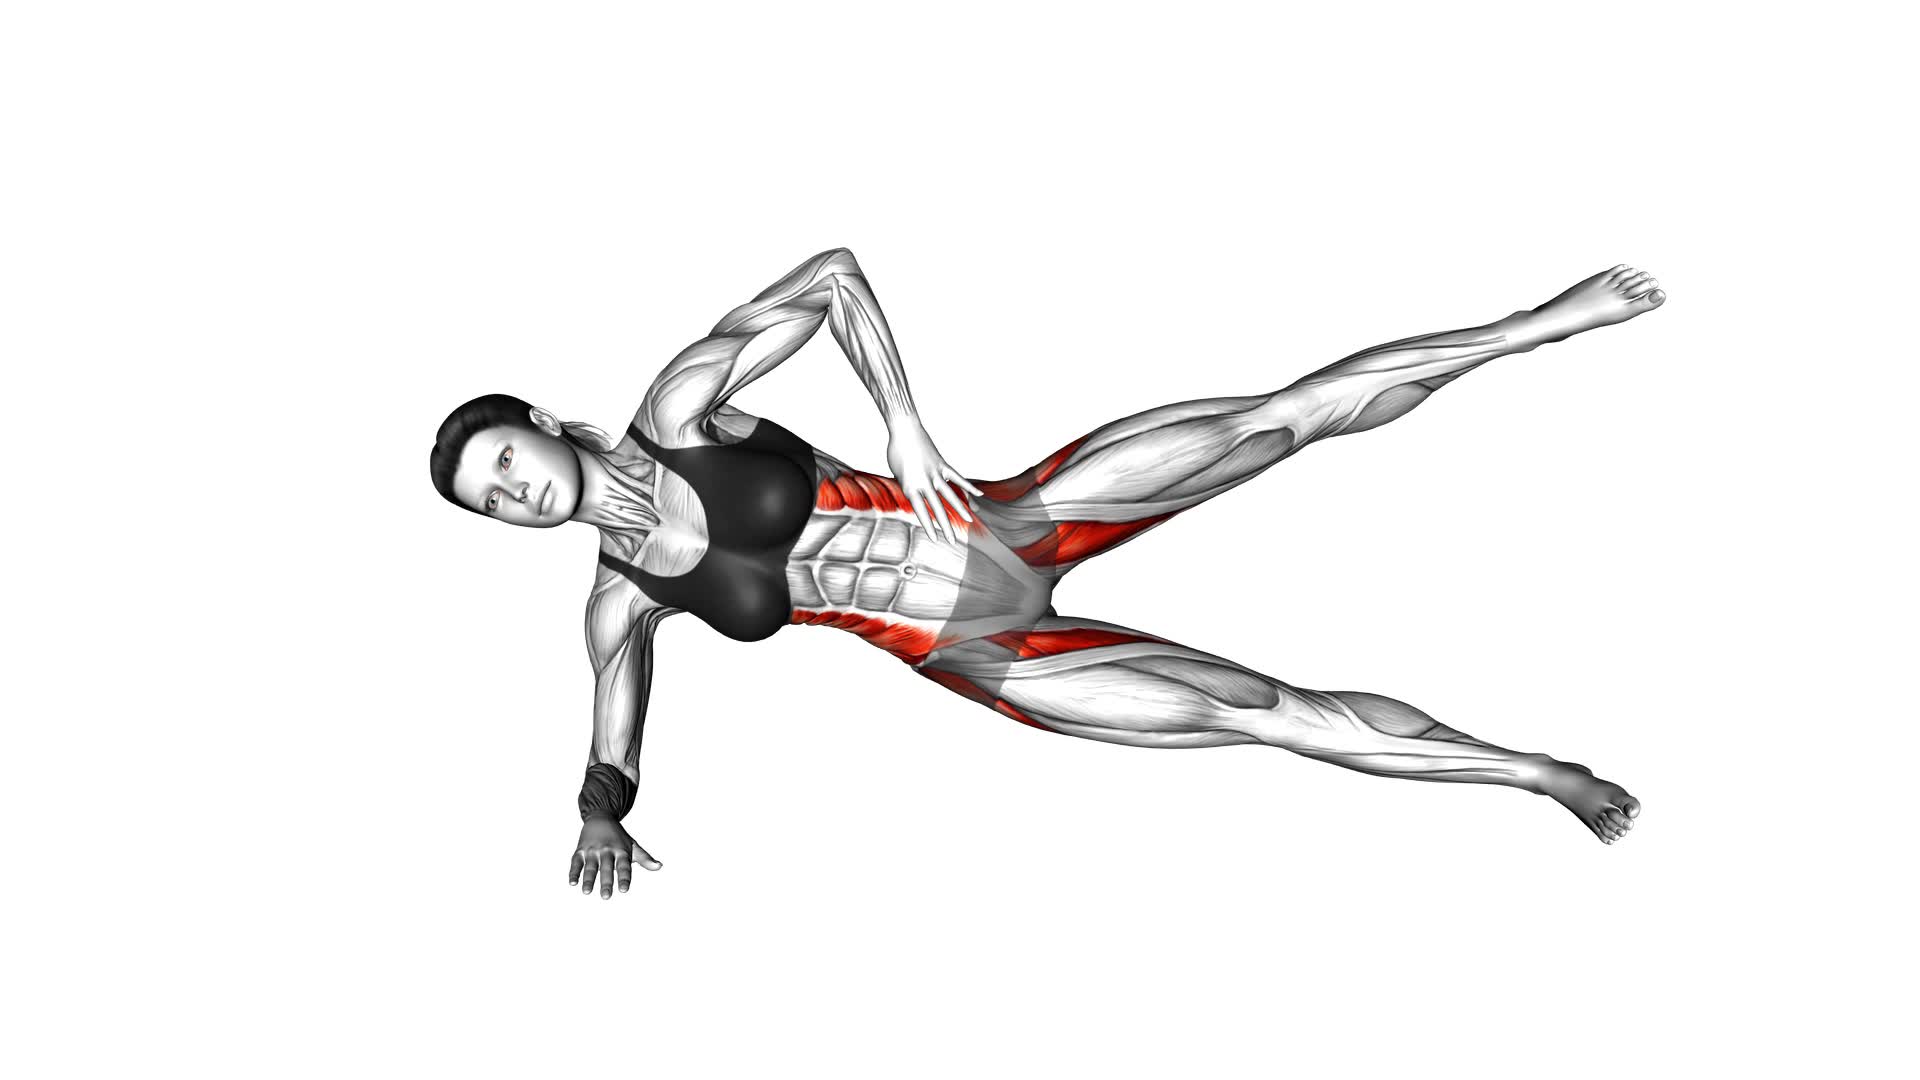
Get ready to strengthen your core and challenge your balance with the Side Plank With Raised Leg (Version 2) (Left) (Female) exercise. This video exercise guide will show you the proper form and technique, as well as modifications for beginners.
Watch This Exercise Video
Avoid common mistakes and get tips for progression and variations. You'll be on your way to a stronger, more toned body in no time.
Let's get started!
Key Takeaways
- Side plank with raised leg strengthens the core muscles and improves stability and balance.
- This exercise targets the glutes, hip muscles, and side abdominal muscles, helping to enhance overall body coordination.
- Proper form and technique include starting in a side plank position with the elbow directly under the shoulder and maintaining a straight line from head to toe.
- Common mistakes to avoid include allowing the hips to drop, neglecting proper alignment of the head, neck, and spine, and lifting the leg too high.
Benefits of Side Plank With Raised Leg
To understand the benefits of the Side Plank With Raised Leg, you need to know that this exercise engages multiple muscle groups simultaneously. The main muscles targeted in the Side Plank With Raised Leg include the obliques, glutes, hip flexors, and core muscles. By holding the side plank position and raising your top leg, you're challenging the stability of your core and hips, while also strengthening the muscles on the side of your body. This exercise is highly effective in building core strength, improving balance, and enhancing overall stability.
To increase the intensity of the Side Plank With Raised Leg, there are a few variations you can try. One option is to hold a dumbbell or kettlebell in your top hand while performing the exercise. This added weight will increase the resistance and make your muscles work harder. Another way to increase intensity is to hold the raised leg position for a longer period of time. Start by holding for 10 seconds, then gradually increase the duration as you get stronger. You can also incorporate leg lifts or pulses with the raised leg to further challenge your muscles.
Proper Form and Technique
To ensure proper form and technique for the Side Plank With Raised Leg exercise, focus on maintaining a strong and stable position while engaging the targeted muscle groups. Here are some key tips to help you perform this exercise correctly:
- Importance of core stability:
- Engage your core muscles by pulling your navel towards your spine.
- Keep your torso in a straight line from head to toe, avoiding any sagging or twisting.
- Maintain a neutral pelvis position by tucking your tailbone slightly under.
- How to engage the glutes in side plank with raised leg:
- Squeeze your glute muscles on the bottom side of your body to lift your hips off the ground.
- Focus on lifting your top leg while keeping it in line with your body, activating the glute muscles on that side.
By following these guidelines, you'll maximize the effectiveness of the Side Plank With Raised Leg exercise.
Remember to start with proper form and gradually increase the difficulty as you become more comfortable and confident with the exercise. It's important to listen to your body and make modifications if needed to prevent any strain or injury.
Keep practicing and enjoy the benefits of improved core stability and stronger glutes!
Modifications for Beginners
If you're a beginner, you can make modifications to the Side Plank With Raised Leg exercise to gradually build strength and stability in your core and glutes. Here are some beginner-friendly variations that you can try:
- Knee Modification: Instead of lifting your top leg, keep both knees on the ground. This reduces the intensity of the exercise while still engaging your core and glutes.
- Supported Arm: If balancing on your hand is challenging, you can start by using your forearm as support. This provides more stability and makes it easier to maintain proper form.
- Bent Leg Variation: Instead of keeping your legs straight, you can bend your bottom leg and rest your knee on the ground. This modification reduces the demand on your core and makes it easier to hold the position.
Remember, the goal is to gradually progress and challenge yourself as you build strength and stability. As you become more comfortable with these modifications, you can gradually increase the difficulty by adding the raised leg or straightening your bottom leg.
Common Mistakes to Avoid
Avoid these common mistakes when performing the Side Plank With Raised Leg exercise:
- Avoid sagging hips: One of the most common mistakes is letting your hips drop towards the floor. To fix this, engage your core muscles and imagine creating a straight line from your head to your heels. This will help maintain proper alignment and stability.
- Don't forget about your raised leg: It's important to keep your raised leg in line with your body. Avoid letting it sag or swing forward. Instead, focus on lifting your leg while keeping it parallel to the ground. This will engage your glutes and improve your balance.
- Don't rush the exercise: Take your time and focus on performing the side plank with control. Avoid rushing through the movement or using momentum to lift your leg. Instead, focus on engaging your muscles and maintaining stability throughout the exercise.
- Avoid holding your breath: Breathing is essential during any exercise. Make sure to inhale and exhale deeply throughout the side plank with raised leg. This will help oxygenate your muscles and improve your overall performance.
By avoiding these common mistakes and following these tips, you can enhance your side plank with raised leg exercise.
Now, let's explore some tips for progression and variations to continue challenging yourself and taking your fitness to the next level.
Tips for Progression and Variations
As you progress in your side plank with raised leg exercise, you can challenge yourself even further by incorporating variations and progression techniques. These techniques will help you continue to strengthen your core and improve your stability.
One progression technique you can try is to hold the side plank position for a longer duration. Start by holding the position for 30 seconds and gradually increase the time as you get stronger.
Another progression technique is to add a resistance band around your thighs. This adds an extra challenge to your muscles and forces them to work harder to maintain stability.
If you're looking for more advanced variations, you can try the side plank with hip dips. Start in a side plank position and then lower your hip towards the ground and then raise it back up. This movement targets your obliques even more and adds a dynamic element to the exercise.
Another advanced variation is the side plank with leg lifts. Start in a side plank position and then lift your top leg up towards the ceiling. This targets your glutes and adds an extra challenge to your stability.
Remember to always listen to your body and progress at your own pace. These progression techniques and advanced variations will help you continue to challenge yourself and see improvements in your strength and stability.
Frequently Asked Questions
How Many Calories Does the Side Plank With Raised Leg Exercise Burn?
The side plank with raised leg exercise is a great way to strengthen your core and challenge your balance. It targets your obliques, glutes, and hip muscles.
While the exact number of calories burned during this exercise can vary depending on factors like your weight and intensity, it's generally considered a moderate-intensity exercise that can help you burn calories and build strength.
Remember to start with modifications and variations that suit your fitness level.
Can Side Plank With Raised Leg Help Reduce Lower Back Pain?
Side plank variations, like the side plank with raised leg, can be beneficial in reducing lower back pain. By engaging your core muscles and stabilizing your spine, this exercise helps improve your posture and strengthen the muscles that support your lower back. This can help alleviate discomfort and prevent future pain.
Additionally, the raised leg adds an extra challenge, targeting your glutes and hip muscles for added strength and stability.
Is It Safe to Perform Side Plank With Raised Leg During Pregnancy?
During pregnancy, it's important to prioritize exercises that are safe and beneficial for both you and your baby.
While side plank with raised leg can be a great exercise for strengthening your core and hips, it may not be the best choice during pregnancy due to the increased strain it puts on your abdominal muscles.
Instead, consider alternative side plank variations or pregnancy-specific exercises recommended by your healthcare provider.
Always prioritize your safety and consult with a professional.
How Long Should One Hold the Side Plank With Raised Leg Position?
To maximize the benefits of incorporating side plank with raised leg into your workout routine, it's important to focus on maintaining proper form.
When performing this exercise, you should aim to hold the side plank with raised leg position for at least 30 seconds on each side. This duration allows your muscles to engage and strengthen effectively.
Remember to engage your core, keep your body aligned, and breathe steadily throughout the exercise for optimal results.
Can Side Plank With Raised Leg Help Improve Balance and Stability?
Side plank variations, like the one with a raised leg, can definitely improve your balance and stability. This exercise targets your core muscles and challenges them in a unique way. By holding the side plank position with a raised leg, you're engaging your core even more, which helps strengthen those muscles responsible for balance and stability.
Conclusion
Incorporating side plank with raised leg into your exercise routine can provide numerous benefits, including strengthening your core and improving stability. By maintaining proper form and technique, you can maximize the effectiveness of this exercise.
Beginners can modify the position to suit their fitness level, while avoiding common mistakes.
As you progress, you can challenge yourself with variations and use these tips to continue improving your strength and balance.

Author
Years ago, the spark of my life’s passion ignited in my mind the moment I stepped into the local gym for the first time. The inaugural bead of perspiration, the initial endeavor, the very first surge of endorphins, and a sense of pride that washed over me post-workout marked the beginning of my deep-seated interest in strength sports, fitness, and sports nutrition. This very curiosity blossomed rapidly into a profound fascination, propelling me to earn a Master’s degree in Physical Education from the Academy of Physical Education in Krakow, followed by a Sports Manager diploma from the Jagiellonian University. My journey of growth led me to gain more specialized qualifications, such as being a certified personal trainer with a focus on sports dietetics, a lifeguard, and an instructor for wellness and corrective gymnastics. Theoretical knowledge paired seamlessly with practical experience, reinforcing my belief that the transformation of individuals under my guidance was also a reflection of my personal growth. This belief holds true even today. Each day, I strive to push the boundaries and explore new realms. These realms gently elevate me to greater heights. The unique combination of passion for my field and the continuous quest for growth fuels my drive to break new ground.

